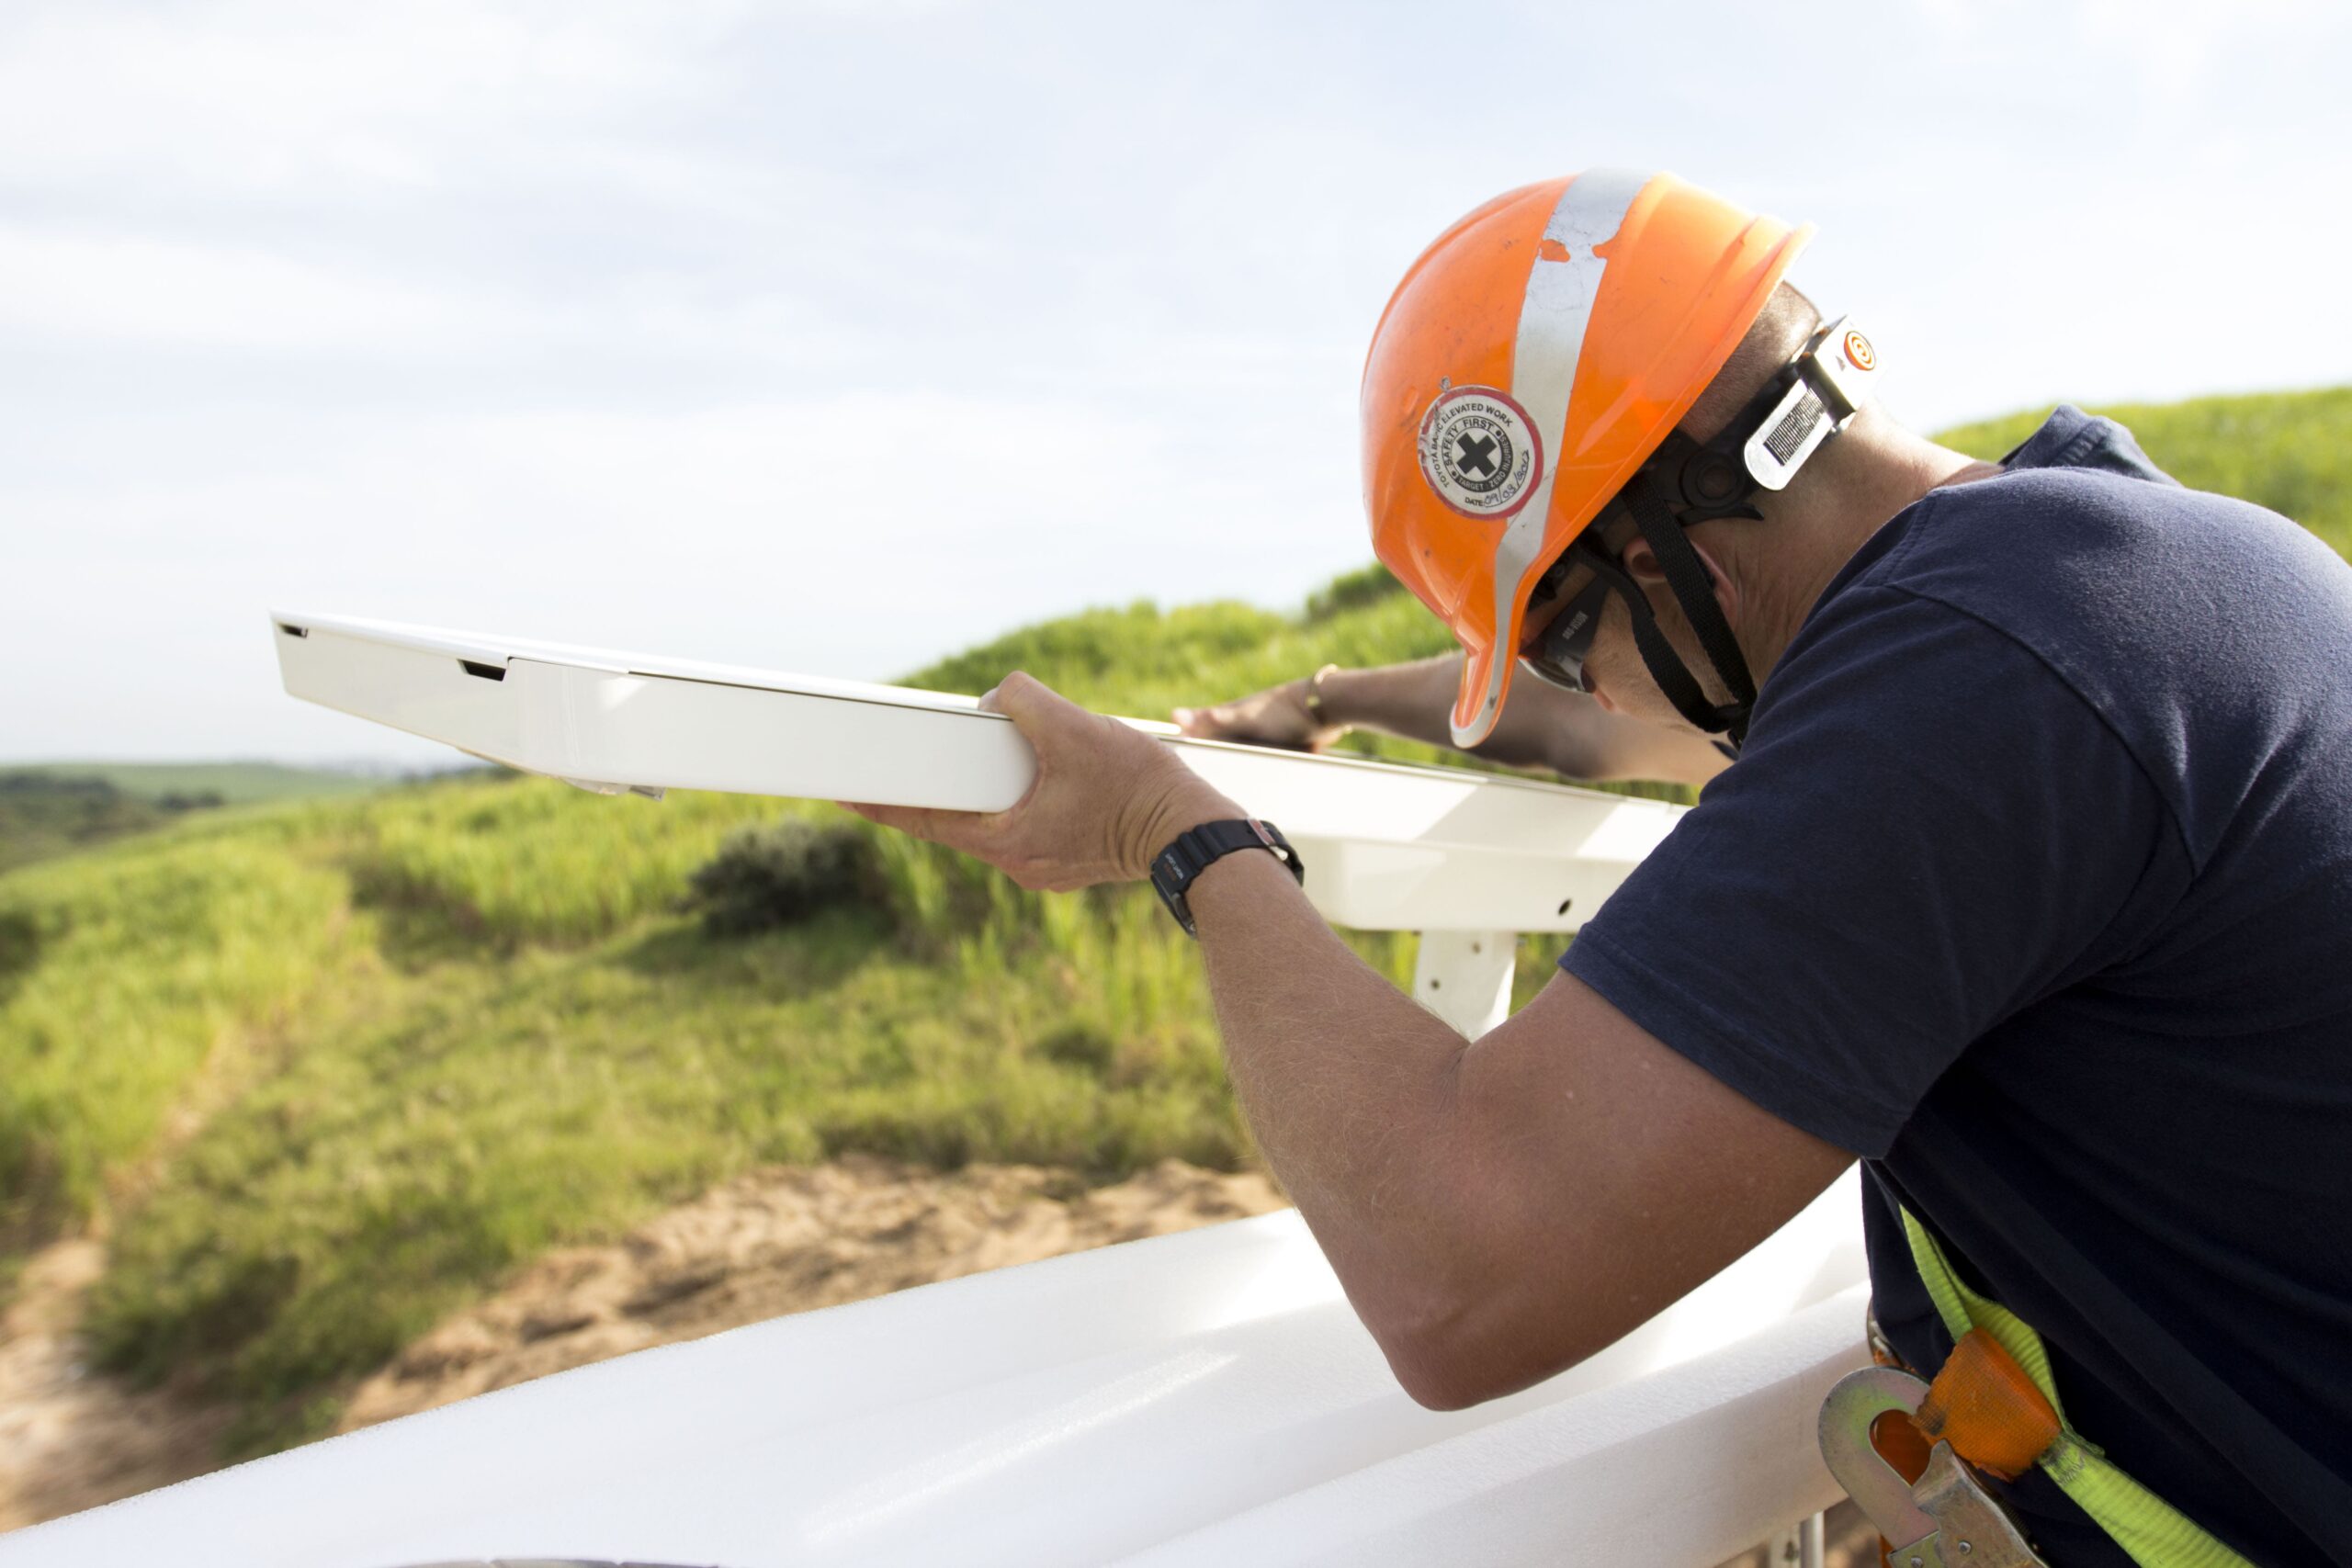
In this video, we’ll be reviewing the EverGen retrofit installation procedure on legacy Sol solar lighting systems. Upgrading the EMS allows for greater efficiency and, if paired with the currently available LED fixture technology, more lumens than what was previously available.
This straightforward installation will have you removing the system’s old charge controller, driver, and battery harnessing, leaving only the fixture and PV harnessing behind.
The EverGen retrofit kit includes:
The tools required are:
To start, open the cabinet via the key or side bolt and remove all existing electronics and battery harnessing. Cap your un-connectorized PV wires to avoid any shorts.
Remove batteries for reuse later with new harnessing. You should be left with only the PV harnessing and the fixture harnessing remaining in the cabinet.
If the door is attached, slide it off its hinges to make the next step easier.
For separate quad battery boxes, the adapter plate should be positioned in the top left (hinge side) corner. For separate dual battery boxes, the adapter plate should also be positioned at the top of the door. If the dual battery box is part of a side-of-pole mount system, in which the cabinet is below the panels, you will have to position the adapter plate in the middle of the door to have enough clearance for the solar panels.
Measure 13” from the bottom of the door and mark a line with a pencil. This will be the top edge of the adapter plate. With the adapter plate flipped over and properly aligned, mark your mounting holes and pilot hole for the 2” saw.
Remove the plate and drill the holes in the door. Using a round file or a deburring tool, remove any sharp edges.
Mount the adapter plate on the back of the EMS with the included standoffs. Position the foam gasket.
Mount the EMS assembly on the outside of the door using the newly drilled holes. Add the grounding extension and the EMS grounding wire to the bronze bolt assembly. Rehang the door and connect the grounding extension to the cabinet stud.
The EverGen EMS requires special battery harnessing which includes an integrated temperature sensor. Your main harnessing assembly needs to match your battery count. You’ll have 1 main harness and up to 3 secondary harnesses.
Remove the main harness fuse if it hasn’t been already and mount all harnessing to the batteries.
The main battery harness needs to be positioned closest to the EMS, typically in the top left corner. Next, install all secondary batteries.
Since we’ll be reusing the existing PV and fixture harnessing, we have provided adapters to make things easier. Some newer harnessing is compatible with the EverGen and will simply click together. Older systems may require splicing or the use of an adapter to connect to the EverGen.
If needed, cut and strip the wire from the PV adapter harness, leaving only a positive and negative MC4 connector. Match the polarity colors: negative is black to black, and positive is white or orange to white. Use the provided wire nuts to connect the wires. Always confirm the polarity with a multimeter.
Again, the fixture harness may also need to be spliced in. Match polarities: negative is black or blue to black, and positive is red or brown to red. Use the provided wire nuts to connect the wires.
Very old systems using basic LED lights may have the driver included in the fixture itself. Any drivers found in the fixtures must be bypassed so the power from the EverGen goes directly to the LEDs. New EverGens have integrated drivers responsible for sending power directly to the LEDs and do not require any external drivers.
Once you have verified that all harnessing has been correctly attached, connect the PV and fixture harness along with the main battery harness to the EverGen. Finally, install the main battery fuse.
Close up the door, securing it with the key or side bolts. Once everything is installed, the last step is commissioning the system with the EverGen Setup App.
The EverGen EMS can be mounted on a variety of different Sol and Carmanah solar lighting systems. There could be some slight modifications to the procedure shown in this video, so consult our website for the most up-to-date retrofit installation manuals for your system.
For any questions about retrofitting your current system, contact us.